
















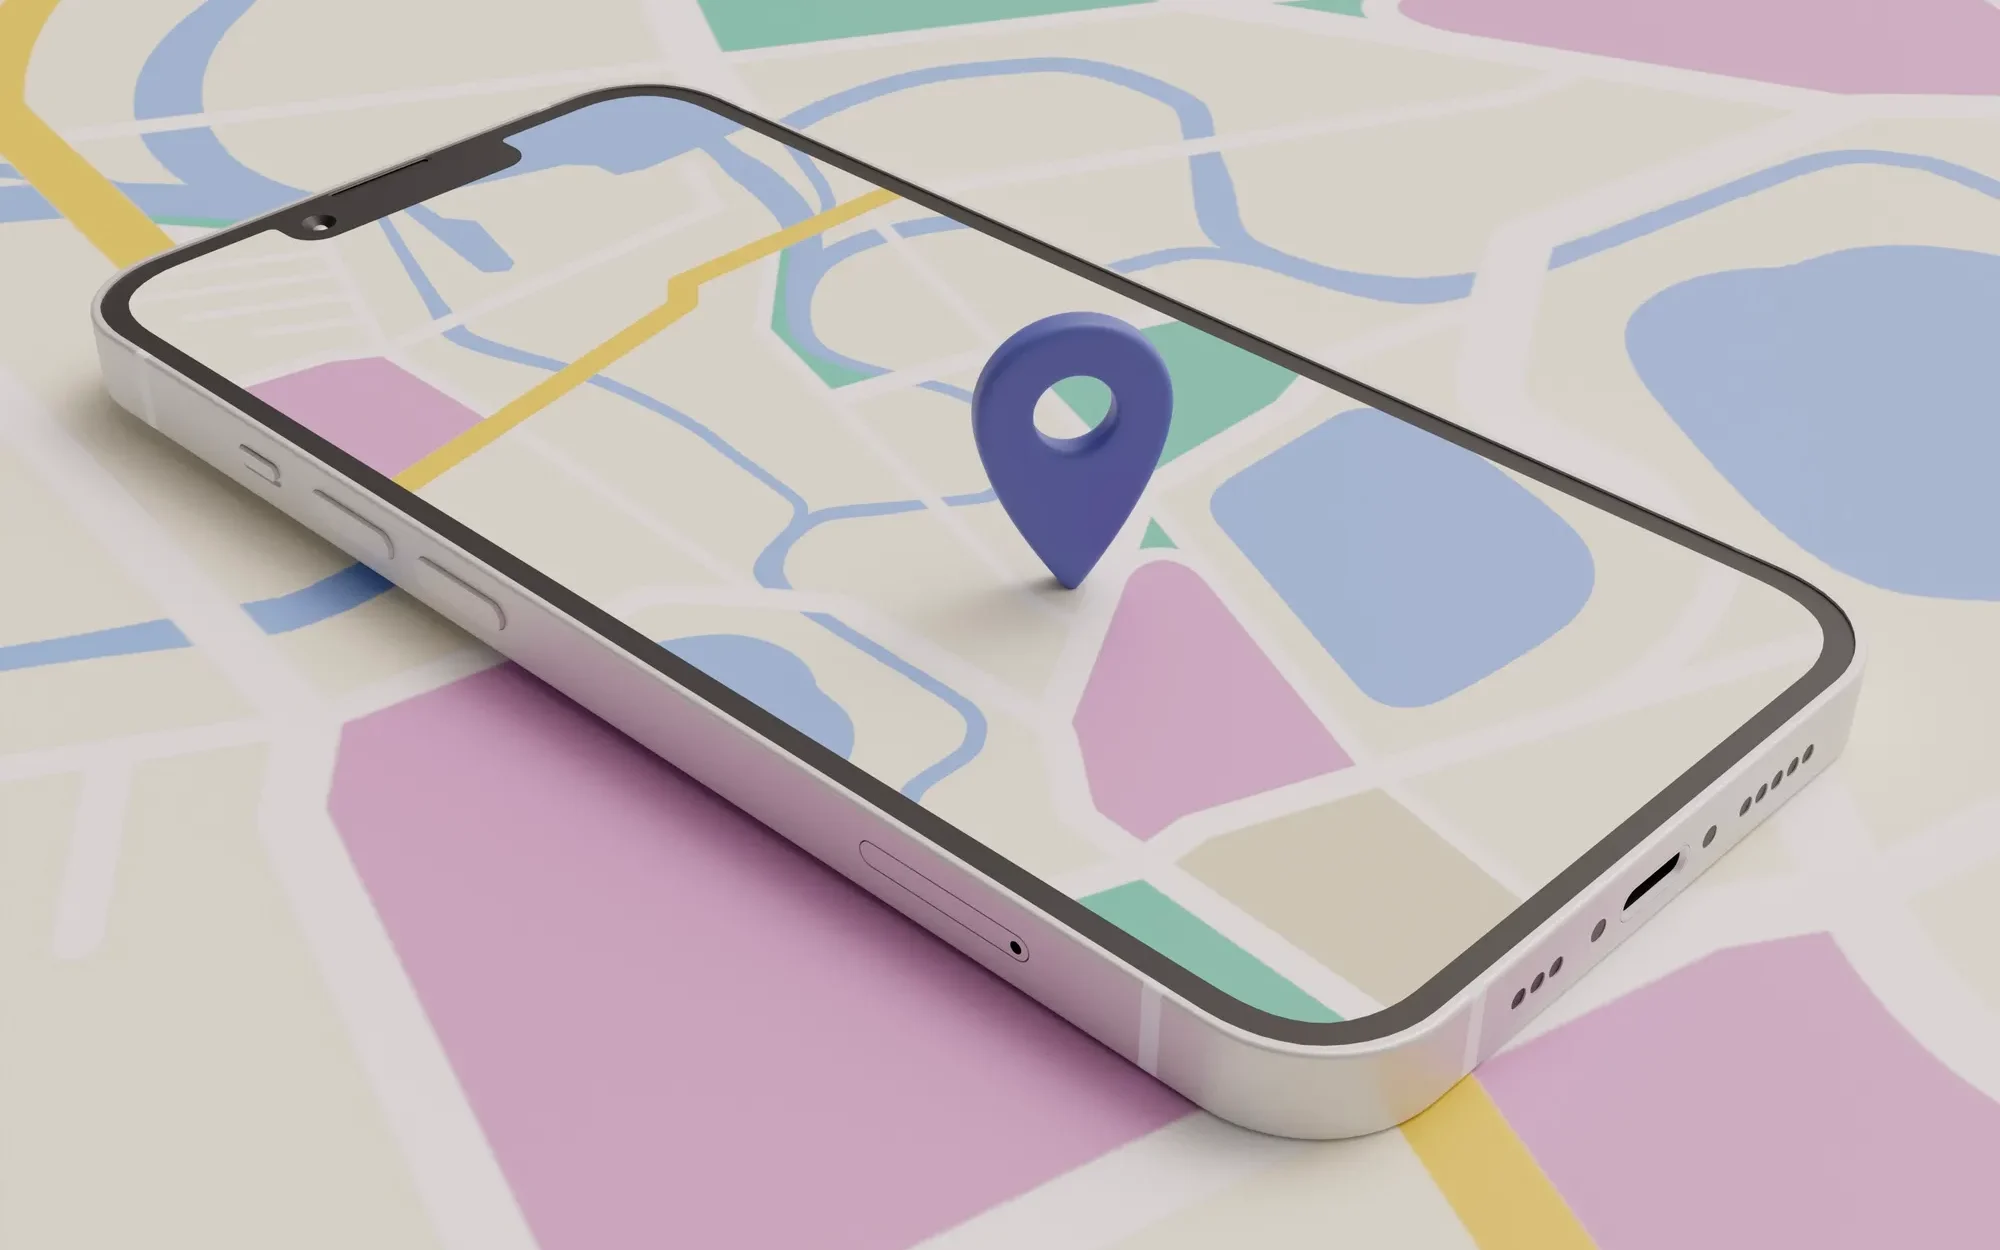
Bài viết này sẽ cung cấp hướng dẫn chi tiết về cách tích hợp Google Maps vào ứng dụng React Native. Bạn sẽ được hướng dẫn cách thiết lập và triển khai Google Maps để hiển thị bản đồ và đánh dấu các vị trí. Hãy cùng thực hiện theo các bước dưới đây để tích hợp Google Maps vào ứng dụng React Native.
Bước 1: Thiết lập môi trường tích hợp Google Maps
Trước khi bắt đầu, hãy đảm bảo bạn đã cài đặt và cấu hình đầy đủ môi trường phát triển ứng dụng React Native. Bạn sẽ cần:
- Node.js (kèm npm hoặc yarn để quản lý package).
- React Native CLI or Expo CLI.
- Một Google Cloud để lấy API Key cho Google Maps.
1. Tạo một dự án React Native
Nếu bạn chưa có dự án React Native, hãy tạo một dự án mới bằng một trong các phương pháp sau:
- Sử dụng React Native CLI:
npx react-native init GGMap
cd GGMap
2. Tạo tài khoản Google Cloud và lấy API Key để tích hợp Maps
- Truy cập Google Cloud Console..
- Tạo một project mới hoặc sử dụng project hiện có.
- Kích hoạt Google Maps SDK for Android and iOS.
- Truy cập API & Services > Library và tìm Maps SDK for Android và Maps SDK for iOSKích hoạt cả hai SDK.
- Lấy API Key:
- Truy cập API & Services > Credentials, chọn Create Credentials, và chọn API Key.
Bước 2: Cài đặt thư viện Google Maps cho React Native
React Native không hỗ trợ Google Maps mặc định. Vì vậy, bạn cần cài đặt một thư viện hỗ trợ, thường là react-native-maps.
1. Cài đặt thư viện react-native-maps
Chạy lệnh sau để cài đặt thư viện:
- With React Native CLI:
```bash
npm install react-native-maps or yarn add react-native-maps
```
2. Cấu hình Android
Thêm API Key vào file AndroidManifest.xml:
<application>
  <meta-data
    android:name="com.google.android.geo.API_KEY"
    android:value="YOUR_GOOGLE_MAPS_API_KEY" />
</application>
3. Cấu hình iOS
- Mở file ios/MyApp/AppDelegate.m và thêm API Key vào didFinishLaunchingWithOptions:
#import <GoogleMaps/GoogleMaps.h>
- (BOOL)application:(UIApplication *)application didFinishLaunchingWithOptions:(NSDictionary *)launchOptions
{
  self.moduleName = @"GGmap";
  // You can add your custom initial props in the dictionary below.
  // They will be passed down to the ViewController used by React Native.
  self.initialProps = @{};

  [GMSServices provideAPIKey:@"YOUR_GOOGLE_MAPS_API_KEY"];

  return [super application:application didFinishLaunchingWithOptions:launchOptions];
}- Mở ios/Podfile và thêm các đoạn mã sau:
rn_maps_path = '../node_modules/react-native-maps'
pod 'react-native-google-maps', :path => rn_maps_path- Chạy lệnh pod install để cài đặt dependency:
cd ios && pod installBước 3: Hiển thị Google Maps trong ứng dụng
Sau khi hoàn tất cấu hình, bạn có thể bắt đầu thêm bản đồ vào ứng dụng.
Trong App.js file, import MapView từ react-native-maps và hiển thị bản đồ:
    import React from 'react';
import { StyleSheet, View } from 'react-native';
import MapView, { Marker } from 'react-native-maps';

export default function App() {
  return (
    <View style={styles.container}>
     <MapView
       provider={PROVIDER_GOOGLE}
       style={styles.map}
       region={{
         latitude: 37.78825,
         longitude: -122.4324,
         latitudeDelta: 0.015,
         longitudeDelta: 0.0121,
       }}
     >
     </MapView>
   </View>
  );
}

const styles = StyleSheet.create({
 container: {
   ...StyleSheet.absoluteFillObject,
   height: 400,
   width: 400,
   justifyContent: 'flex-end',
   alignItems: 'center',
 },
 map: {
   ...StyleSheet.absoluteFillObject,
 },
});
Trên đây là toàn bộ các bước để tích hợp Google Maps vào ứng dụng React Native. Chỉ cần làm theo hướng dẫn trong bài viết, bạn có thể dễ dàng triển khai tính năng này cho ứng dụng của mình. Nếu bạn cần một đội ngũ hỗ trợ triển khai dự án có tích hợp Google Maps, hãy liên hệ để được tư vấn và hỗ trợ giải pháp phù hợp.